Trezor.io/Start: Getting Started with Trezor
In the world of cryptocurrency, securing your digital assets is paramount. As the popularity of digital currencies like Bitcoin and Ethereum continues to rise, so does the importance of safeguarding your private keys. One of the most reliable and secure solutions for managing and storing your crypto assets is through hardware wallets, and Trezor is a leading name in this space. If you're looking to secure your digital assets, getting started with Trezor is a great decision. This guide will walk you through everything you need to know about setting up your Trezor hardware wallet using Trezor.io/start.
What is Trezor?
Trezor is one of the most trusted hardware wallets in the cryptocurrency industry. It is a physical device designed to securely store private keys offline, which are used to access your cryptocurrency holdings. Trezor wallets provide robust protection against hacking attempts, phishing, and other threats, making them a popular choice among crypto investors and enthusiasts.
With Trezor, you can store multiple types of cryptocurrencies, including Bitcoin, Ethereum, Litecoin, and many others. The device also allows you to sign transactions securely without exposing your private keys to the internet. This is crucial in ensuring that your assets remain safe even if your computer or mobile device is compromised.
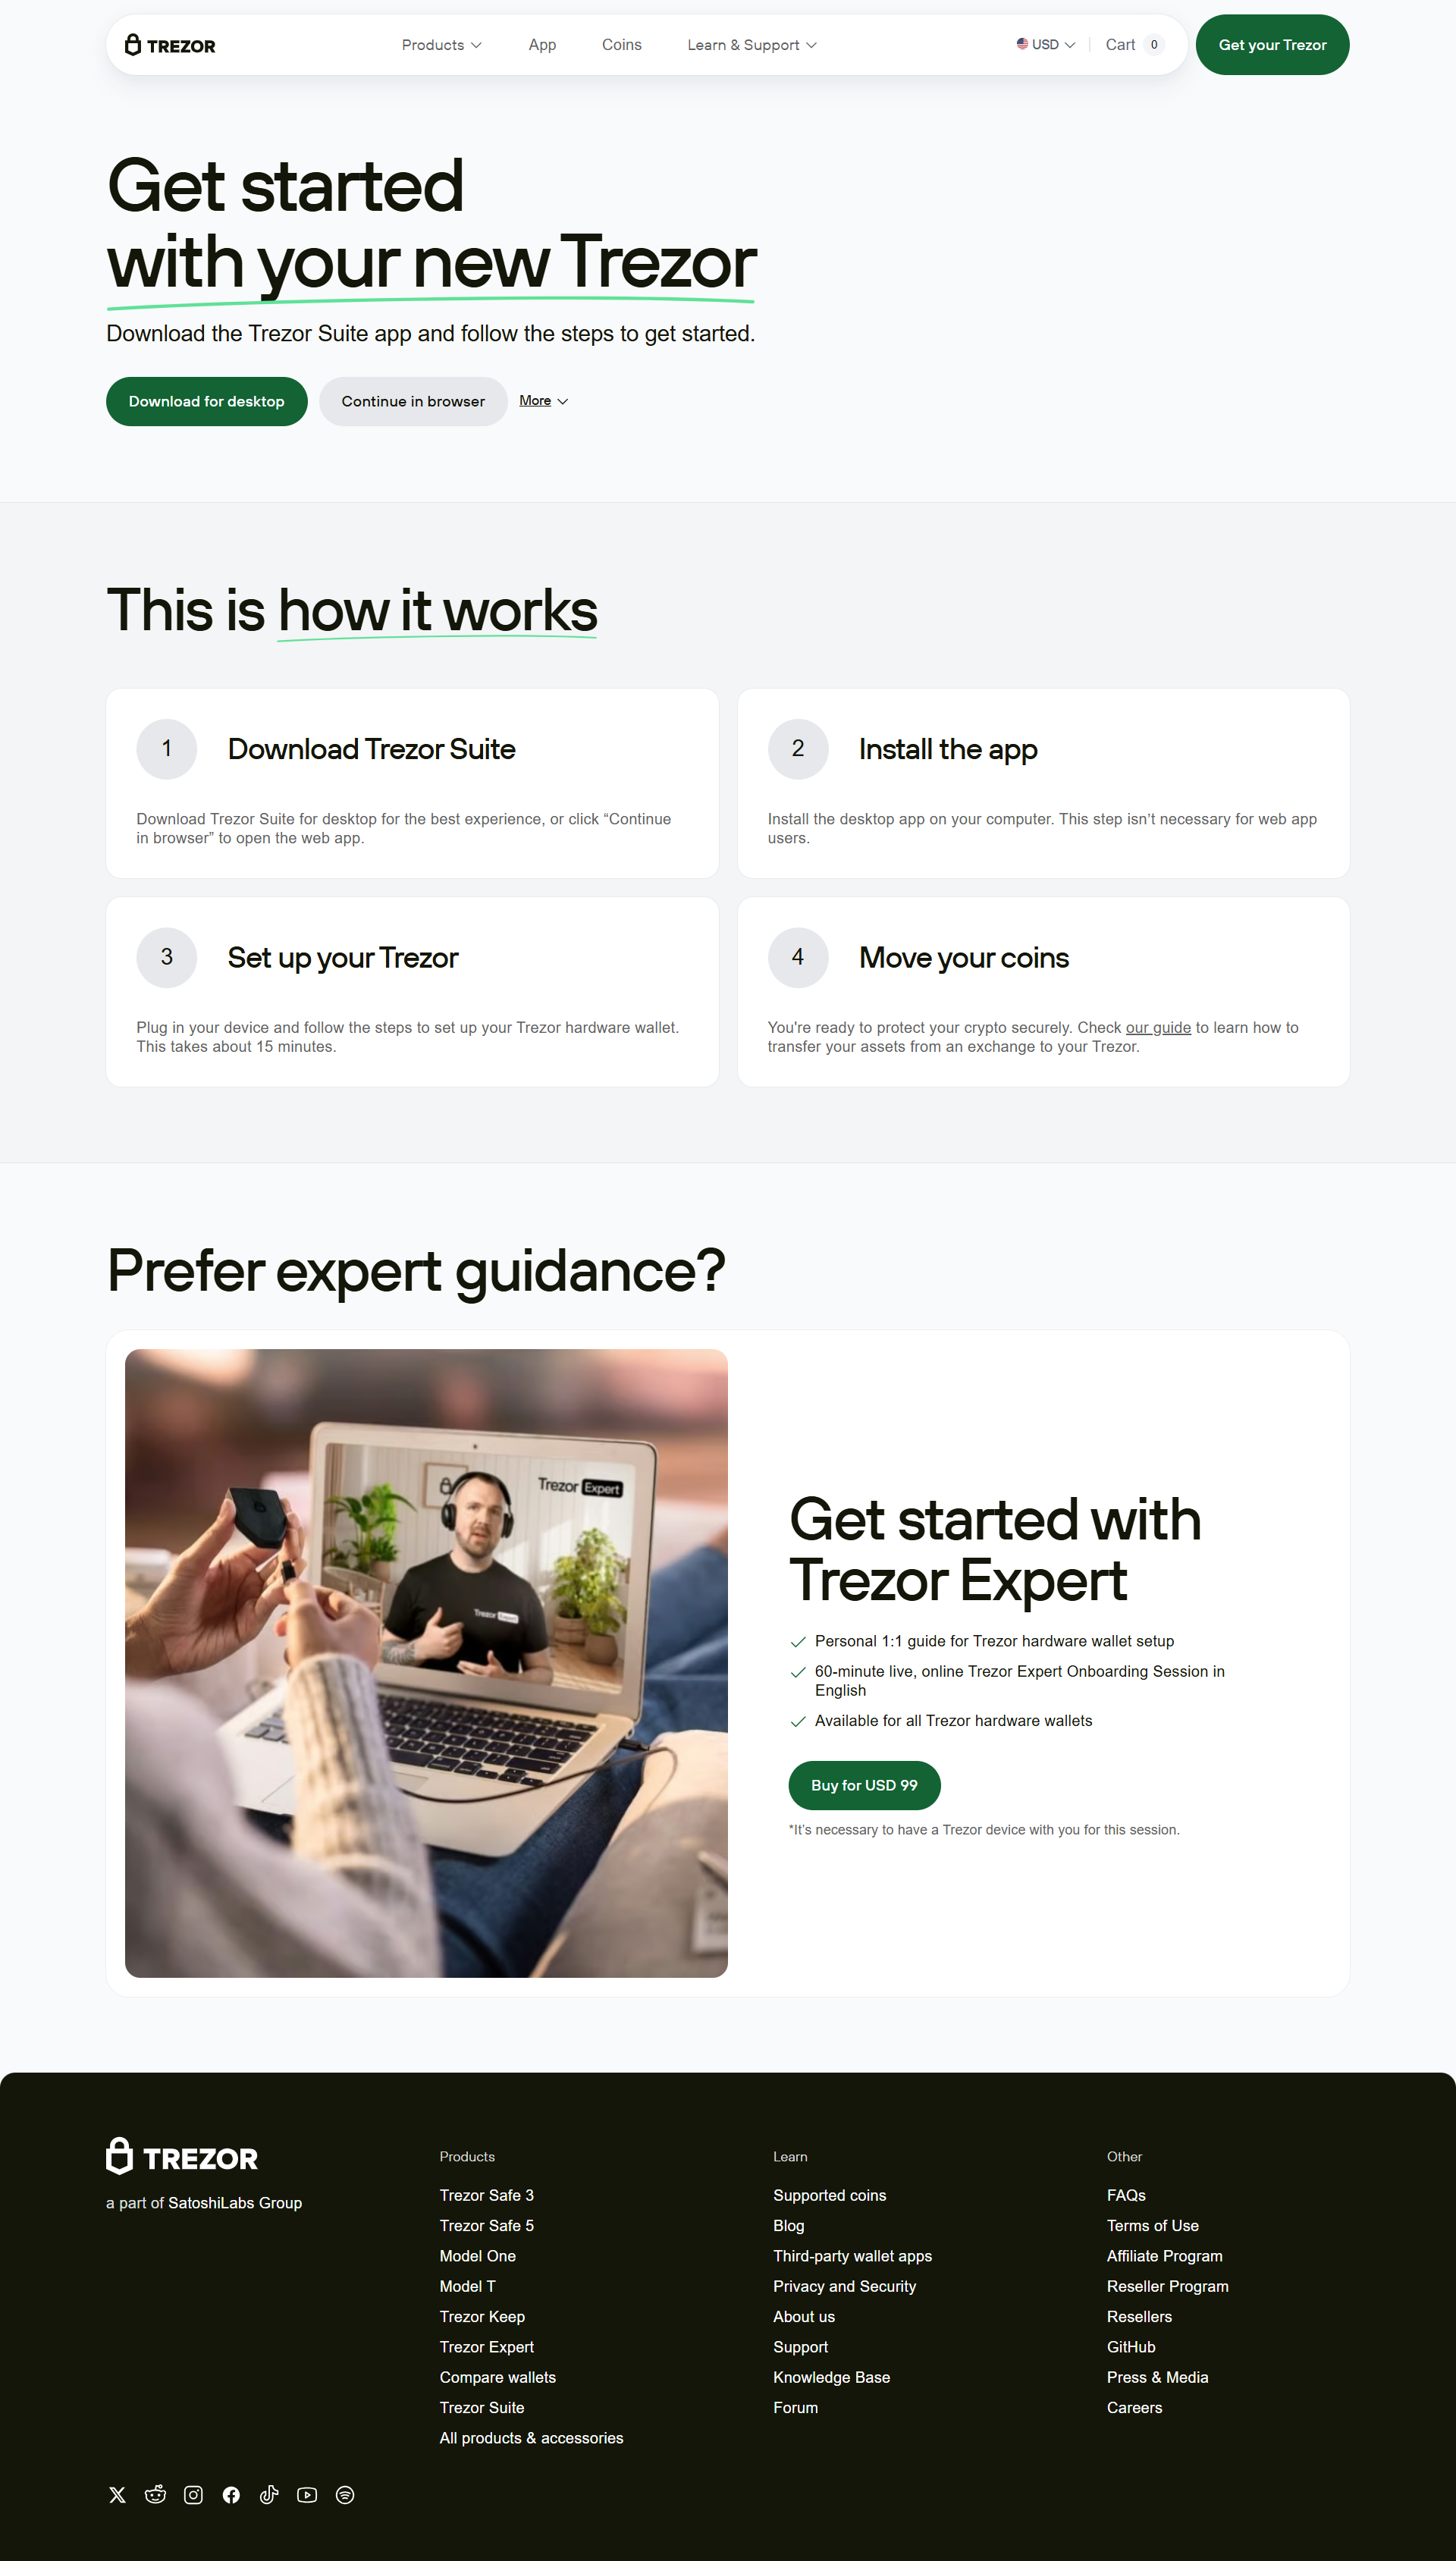
How to Get Started with Trezor: Trezor.io/start
Step 1: Purchase Your Trezor Wallet
Before you begin setting up your Trezor device, you need to purchase one. You can easily buy the wallet directly from the official Trezor website at trezor.io/start. Ensure that you only purchase from authorized sellers to avoid counterfeit products. Trezor offers two main models: the Trezor One and the Trezor Model T. The Model T offers additional features, such as a touchscreen and support for more cryptocurrencies, but both models are highly secure and easy to use.
Step 2: Connect Your Trezor Wallet to Your Computer
Once you've received your Trezor wallet, the next step is to connect it to your computer. To do this, simply plug the device into a USB port on your computer. Once connected, visit trezor.io/start on your browser. This is the official Trezor setup page, where you'll begin the process of initializing your device.
Step 3: Install Trezor Bridge or Trezor Suite
To communicate with your Trezor hardware wallet, you'll need to install the necessary software. Trezor offers two main software options: Trezor Bridge and Trezor Suite.
- Trezor Bridge: This is the simplest option for users who prefer browser-based management. It helps your computer communicate with the Trezor device, allowing you to manage your assets online securely.
- Trezor Suite: This is a more advanced option that provides a desktop application for managing your assets. Trezor Suite offers more features and a user-friendly interface for tracking your portfolio and managing your transactions.
Install the software of your choice by following the instructions on the Trezor.io/start page.
Step 4: Initialize Your Trezor Device
After installation, it's time to initialize your Trezor device. The Trezor wallet will ask you to set up a PIN code. Choose a secure PIN that is unique and not easily guessable. You’ll also be prompted to write down a recovery seed, which is a 12 or 24-word phrase that acts as a backup for your wallet. This recovery seed is vital because it allows you to recover your assets if your device is lost or stolen.
Make sure to store this recovery seed in a safe place—preferably offline and in a secure location—because anyone with access to this phrase can access your funds.
Step 5: Set Up Your Cryptocurrency Accounts
Once your device is initialized, you can set up your cryptocurrency accounts on Trezor. Through the Trezor Suite or a third-party wallet interface (such as Electrum or Mycelium), you can add different cryptocurrencies, receive funds, and manage your assets securely.
You can also send and receive cryptocurrency by simply following the prompts on the Trezor Suite or your chosen wallet interface. The key advantage here is that your private keys remain offline and secure at all times, which significantly reduces the risk of online attacks.
Why Choose Trezor?
Trezor offers several compelling benefits that make it one of the best choices for cryptocurrency storage:
- Enhanced Security: By storing your private keys offline, Trezor reduces the risk of hacking and theft associated with online wallets or exchanges.
- User-Friendly Interface: Both Trezor One and Model T provide intuitive setups and interfaces, making them accessible to both beginners and experienced users.
- Wide Support for Cryptocurrencies: Trezor supports hundreds of different cryptocurrencies, providing a flexible solution for diverse portfolios.
- Backup Recovery: The 12 or 24-word recovery seed ensures that you can always recover your funds if your Trezor wallet is lost or damaged.
Conclusion
Setting up a Trezor wallet via Trezor.io/start is an essential first step in securing your cryptocurrency investments. Whether you are a seasoned investor or just starting out in the crypto world, Trezor provides a highly secure and user-friendly solution for managing your digital assets. By following the simple steps outlined above, you can ensure that your cryptocurrencies are safe from potential threats and accessible only to you.